Create your product templateUpdated 10 months ago
Process Overview
Step 1. Choose a product
Step 2. Create the product template
Step 3. Edit the product template
Step 4. Review and save
Tips: Click here to see the design tutorial content. |
Step 1. Choose a product
From "Product Catalog" section.
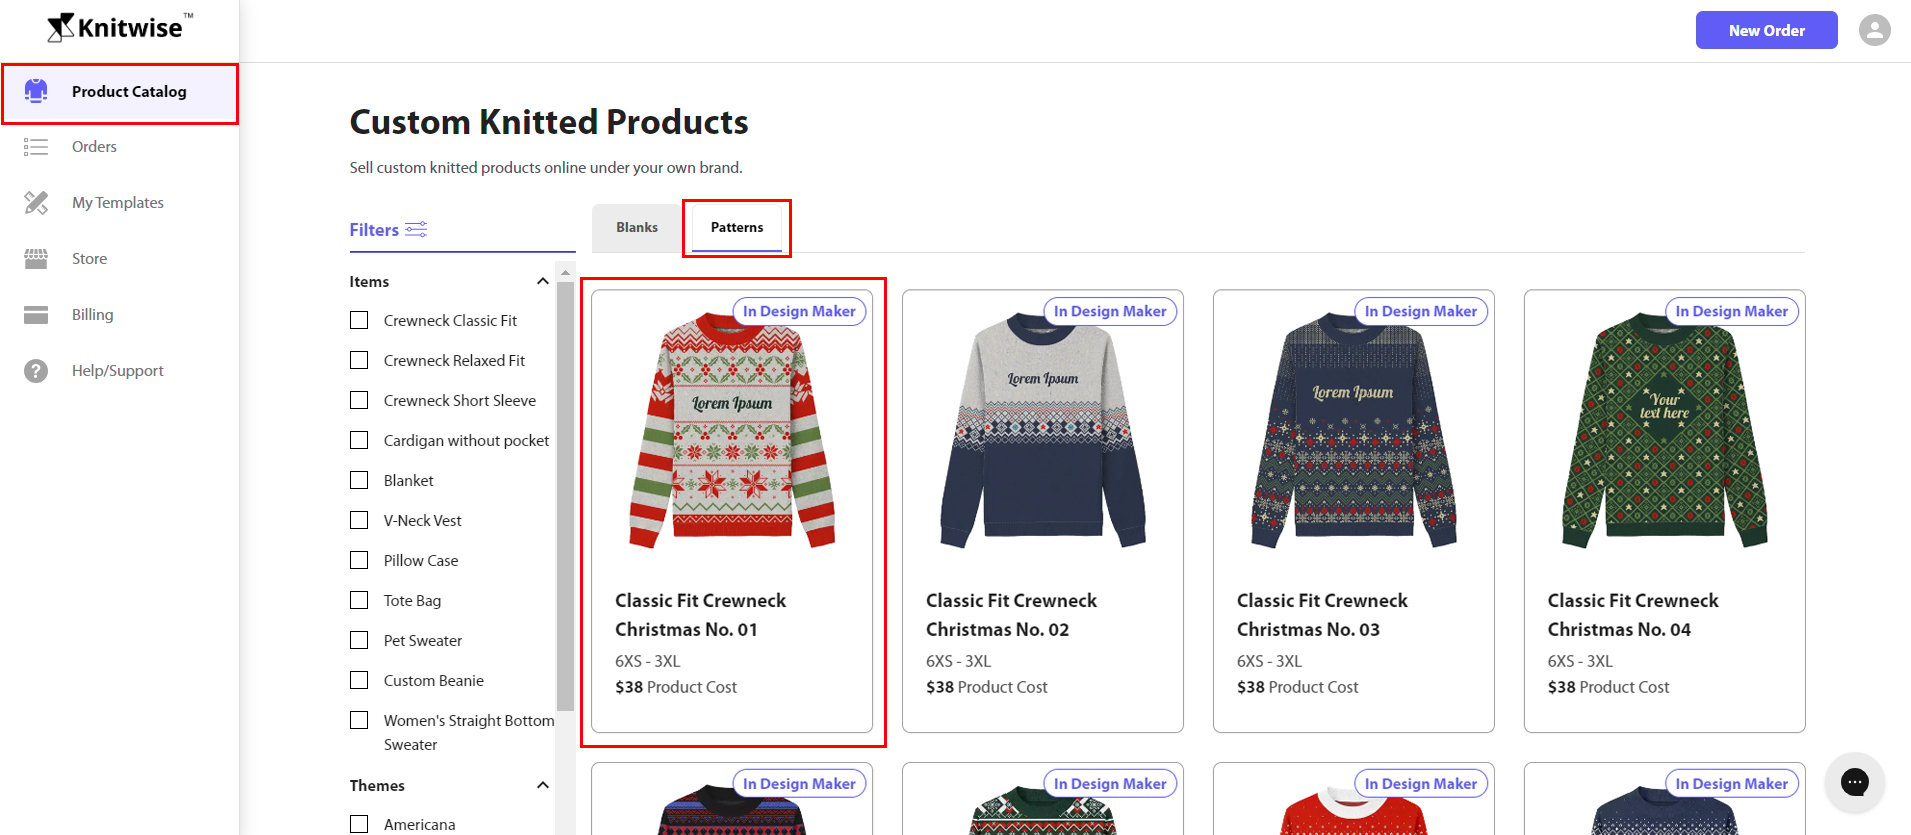
1. Go to "Product Catalog" and select a product from the Blanks collection or Patterns collection.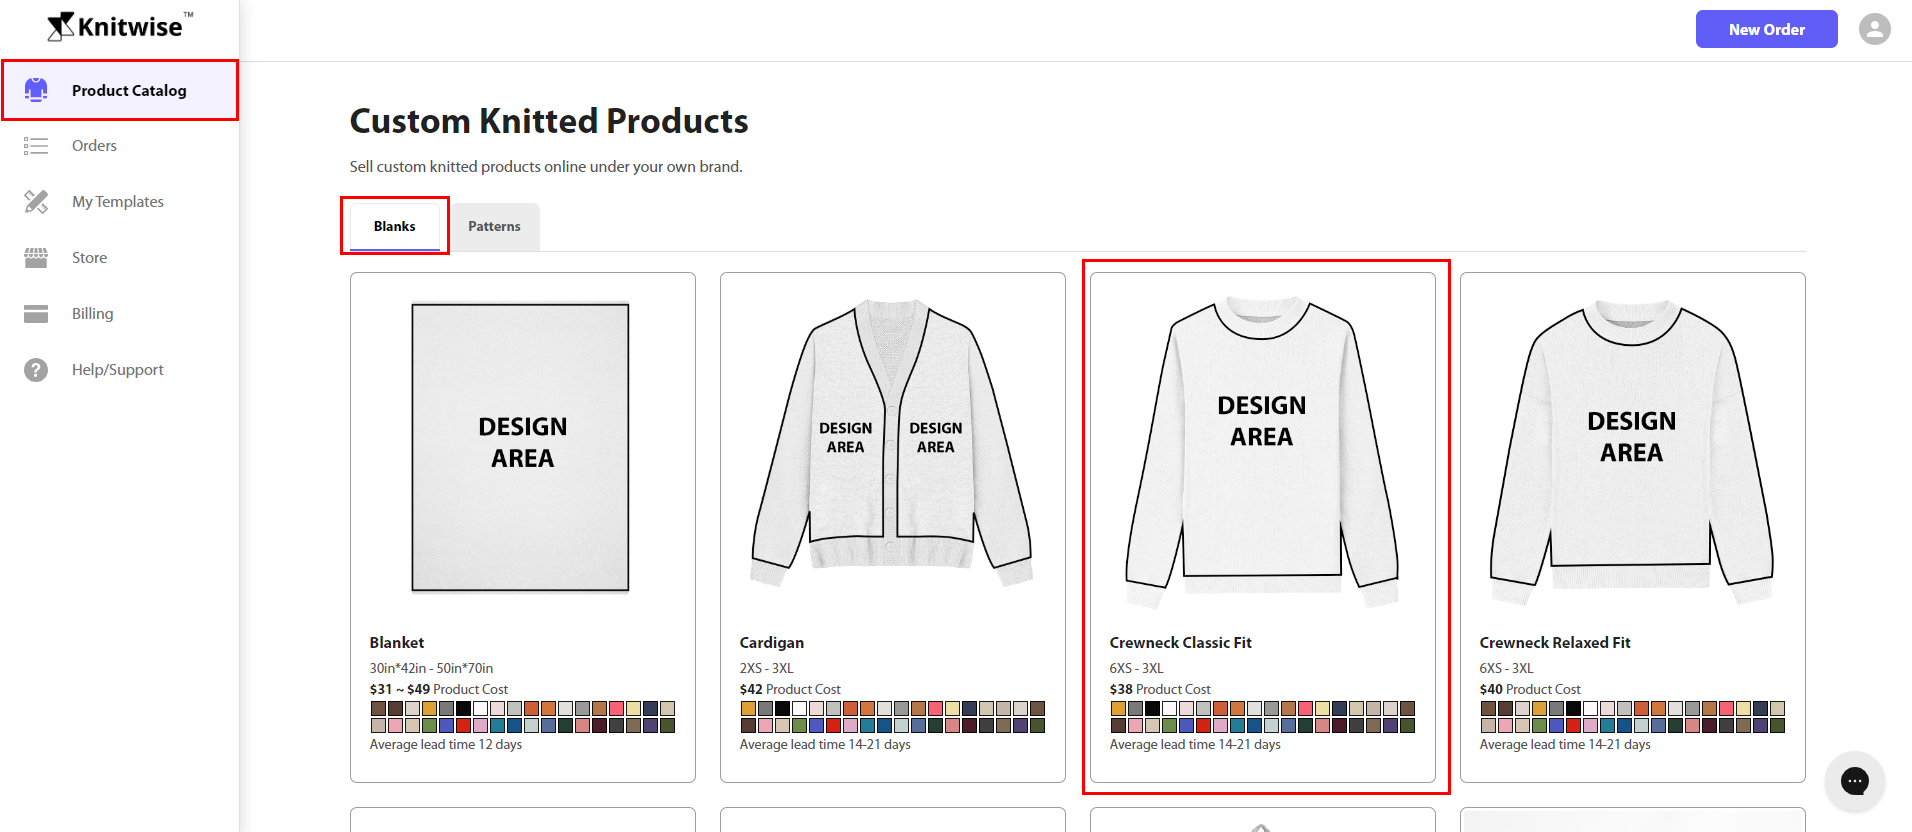
2. Click "Create Product Template" button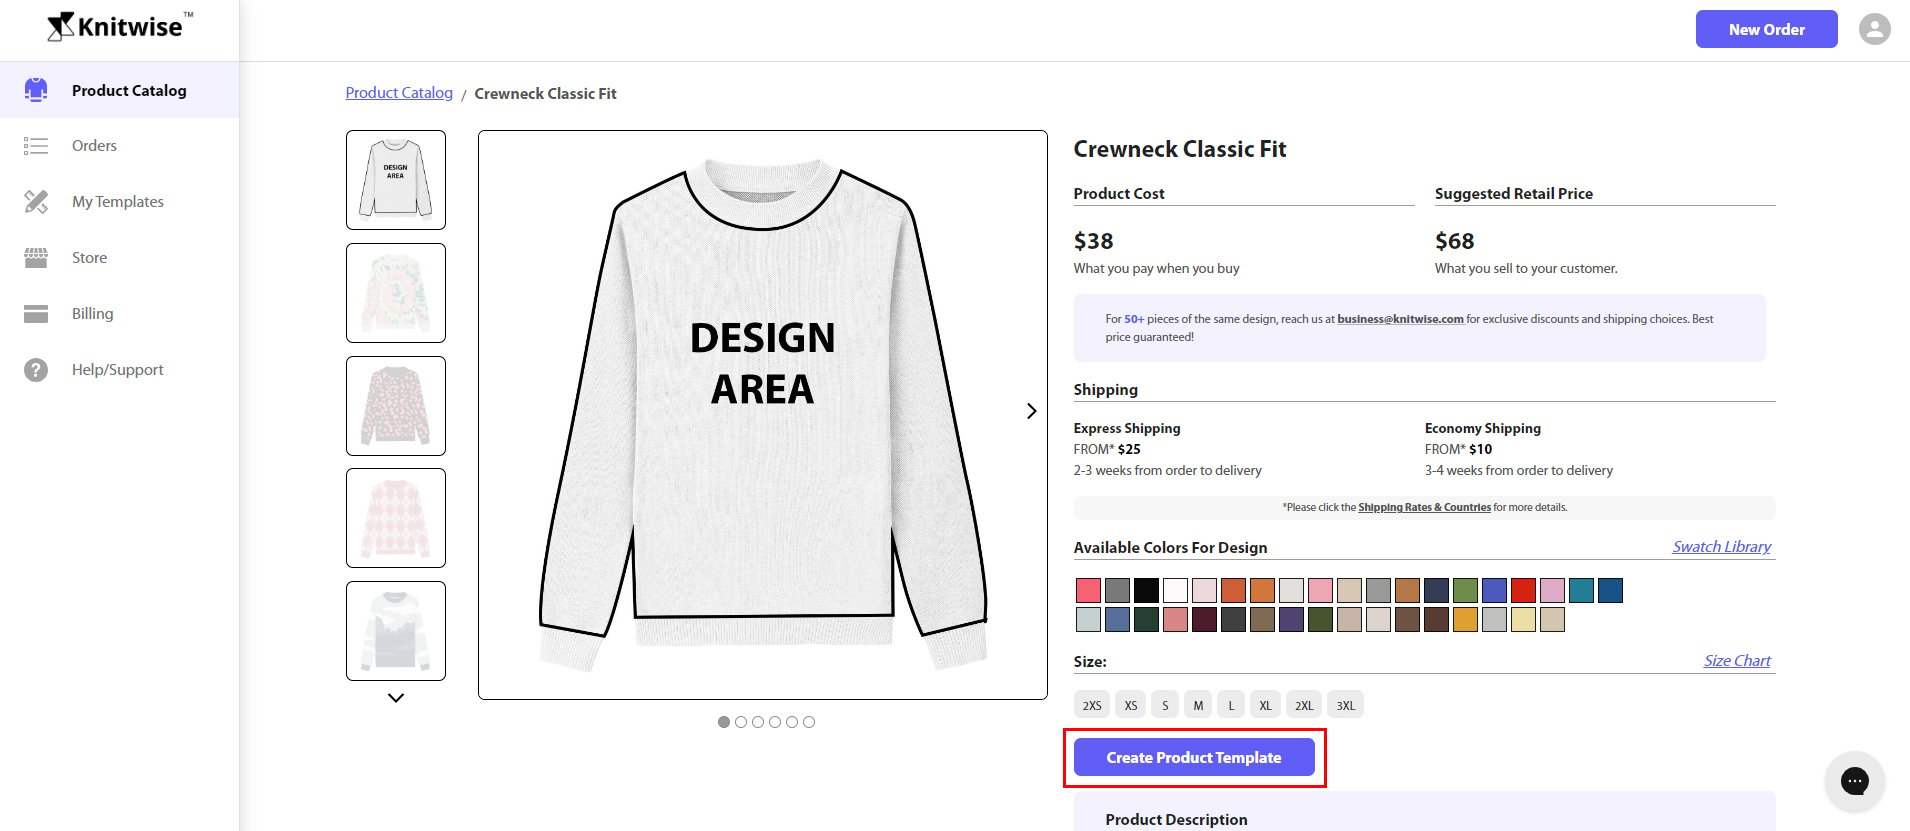 Step 2. Create the product template
1. Choose between Design Maker and Draw on the design file to craft the design.
Note: The Design Maker option is only available on the following styles: Crewneck Classic Fit Sweater, Crewneck Relaxed Fit Sweater, Women's Straight Bottom Sweater, V-Neck Vest, Short Sleeve Sweater, Cardigan and Blanket.
What is the difference between the two methods?
Design Maker: You can upload your images to our online design maker which can transform your images into a production-ready file with a few clicks. It's fast and easy, putting customization at your fingertips.
Draw on the design file: You can download templates and use Photoshop to draw your artwork on the template. This method gives you full control of your design and 100% accuracy. 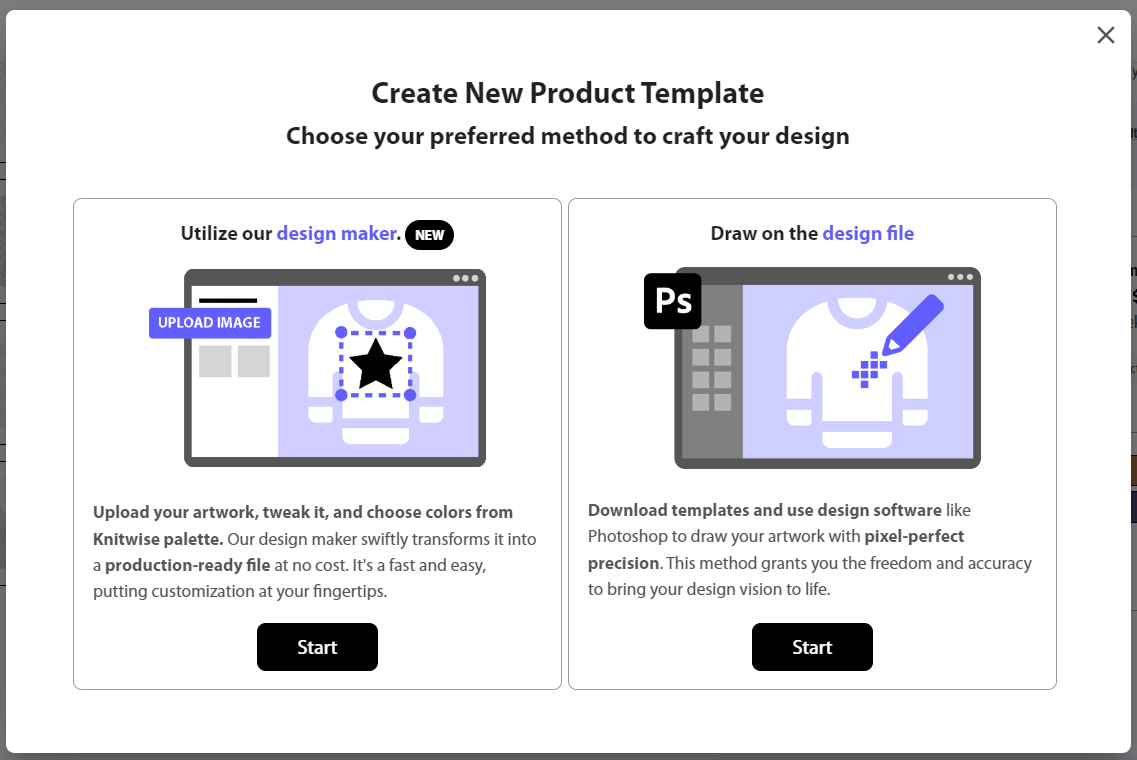
2. Enter the name of your template then click "Confirm". 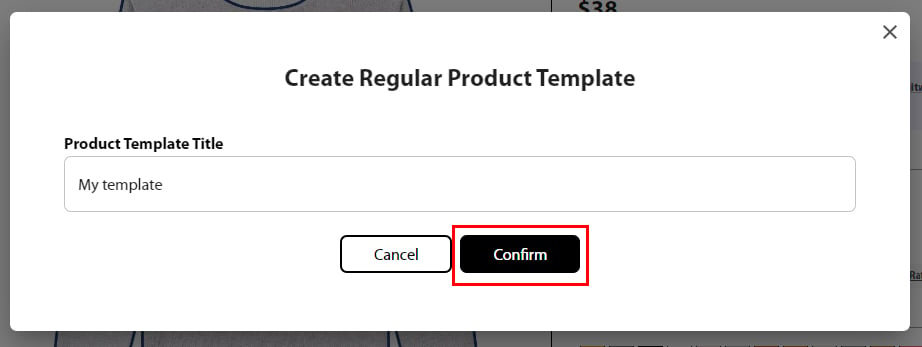
Step 3. Edit the product template
If you have chosen the Design Maker option, you will now see the Design interface to start crafting your design. Please follow the instructions on these articles to create your design using the tool.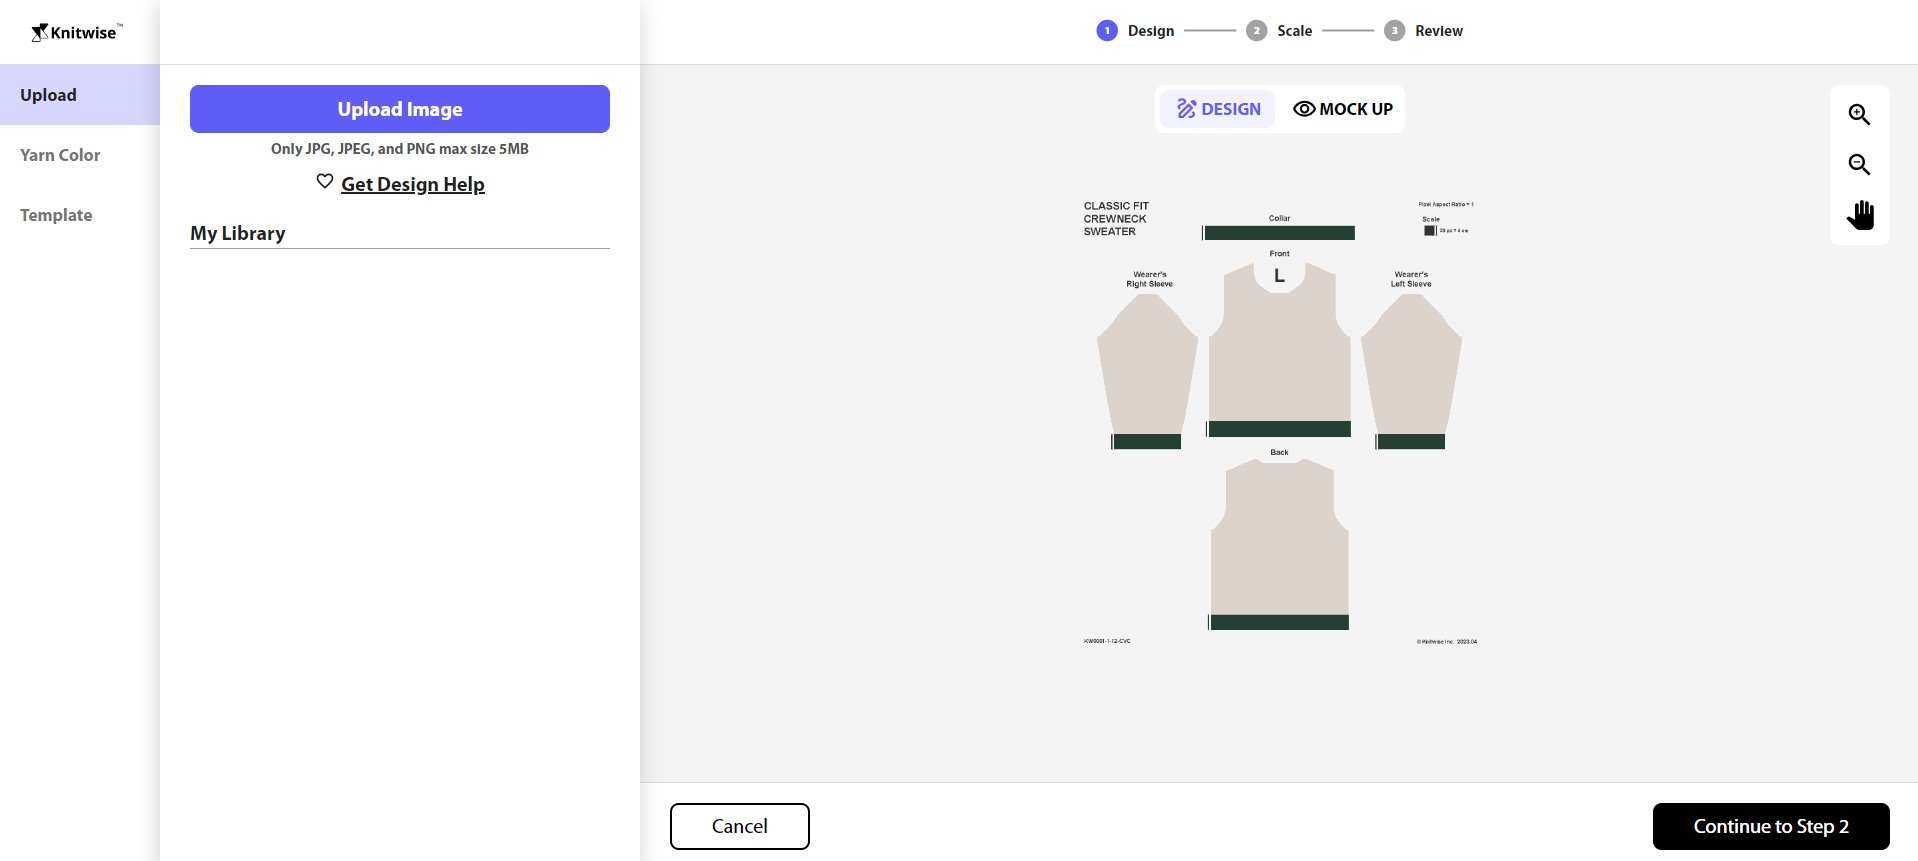
If you have chosen the option to Draw on the design file:
1. Click the "Download" button to get the template files where you will place your design using image editing software like Photoshop.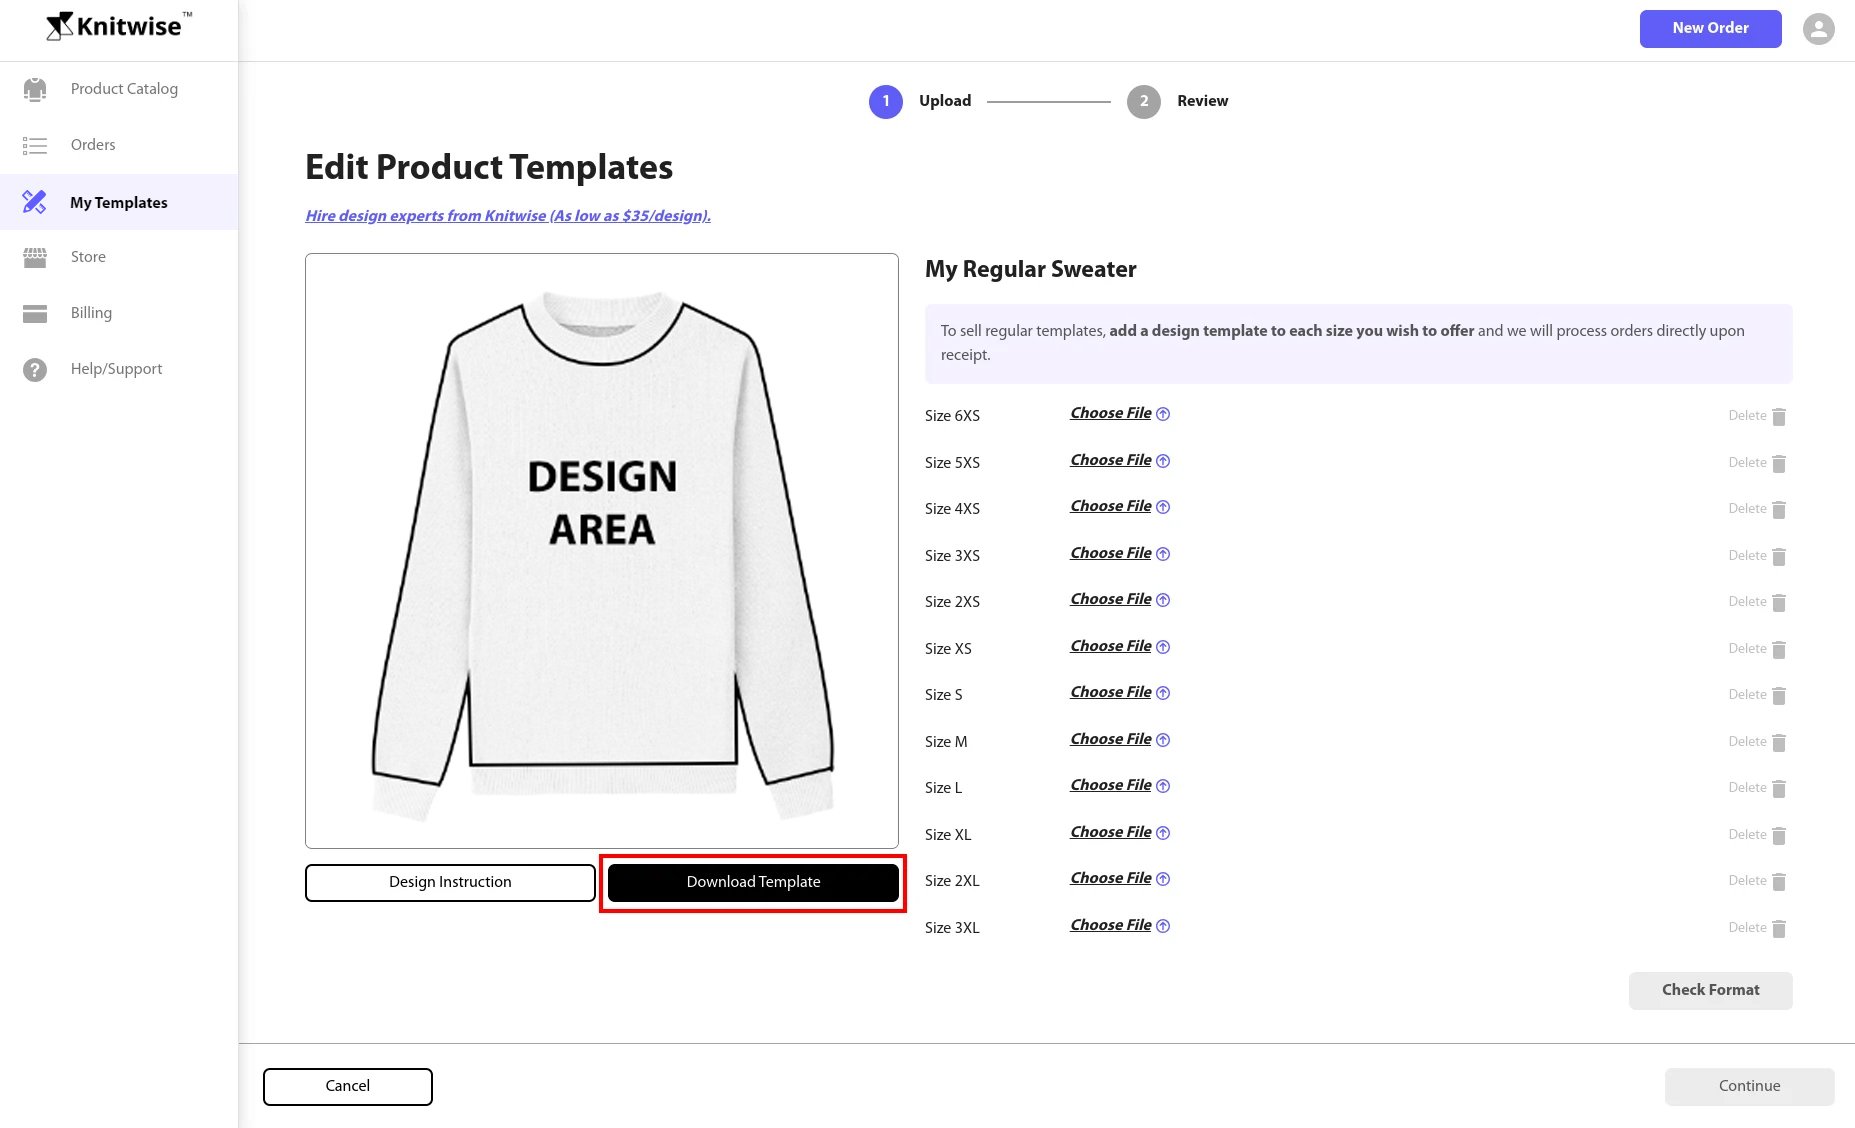
2. Click the "Design Instructions" button or click on this link to get instructions on how to design on the template files.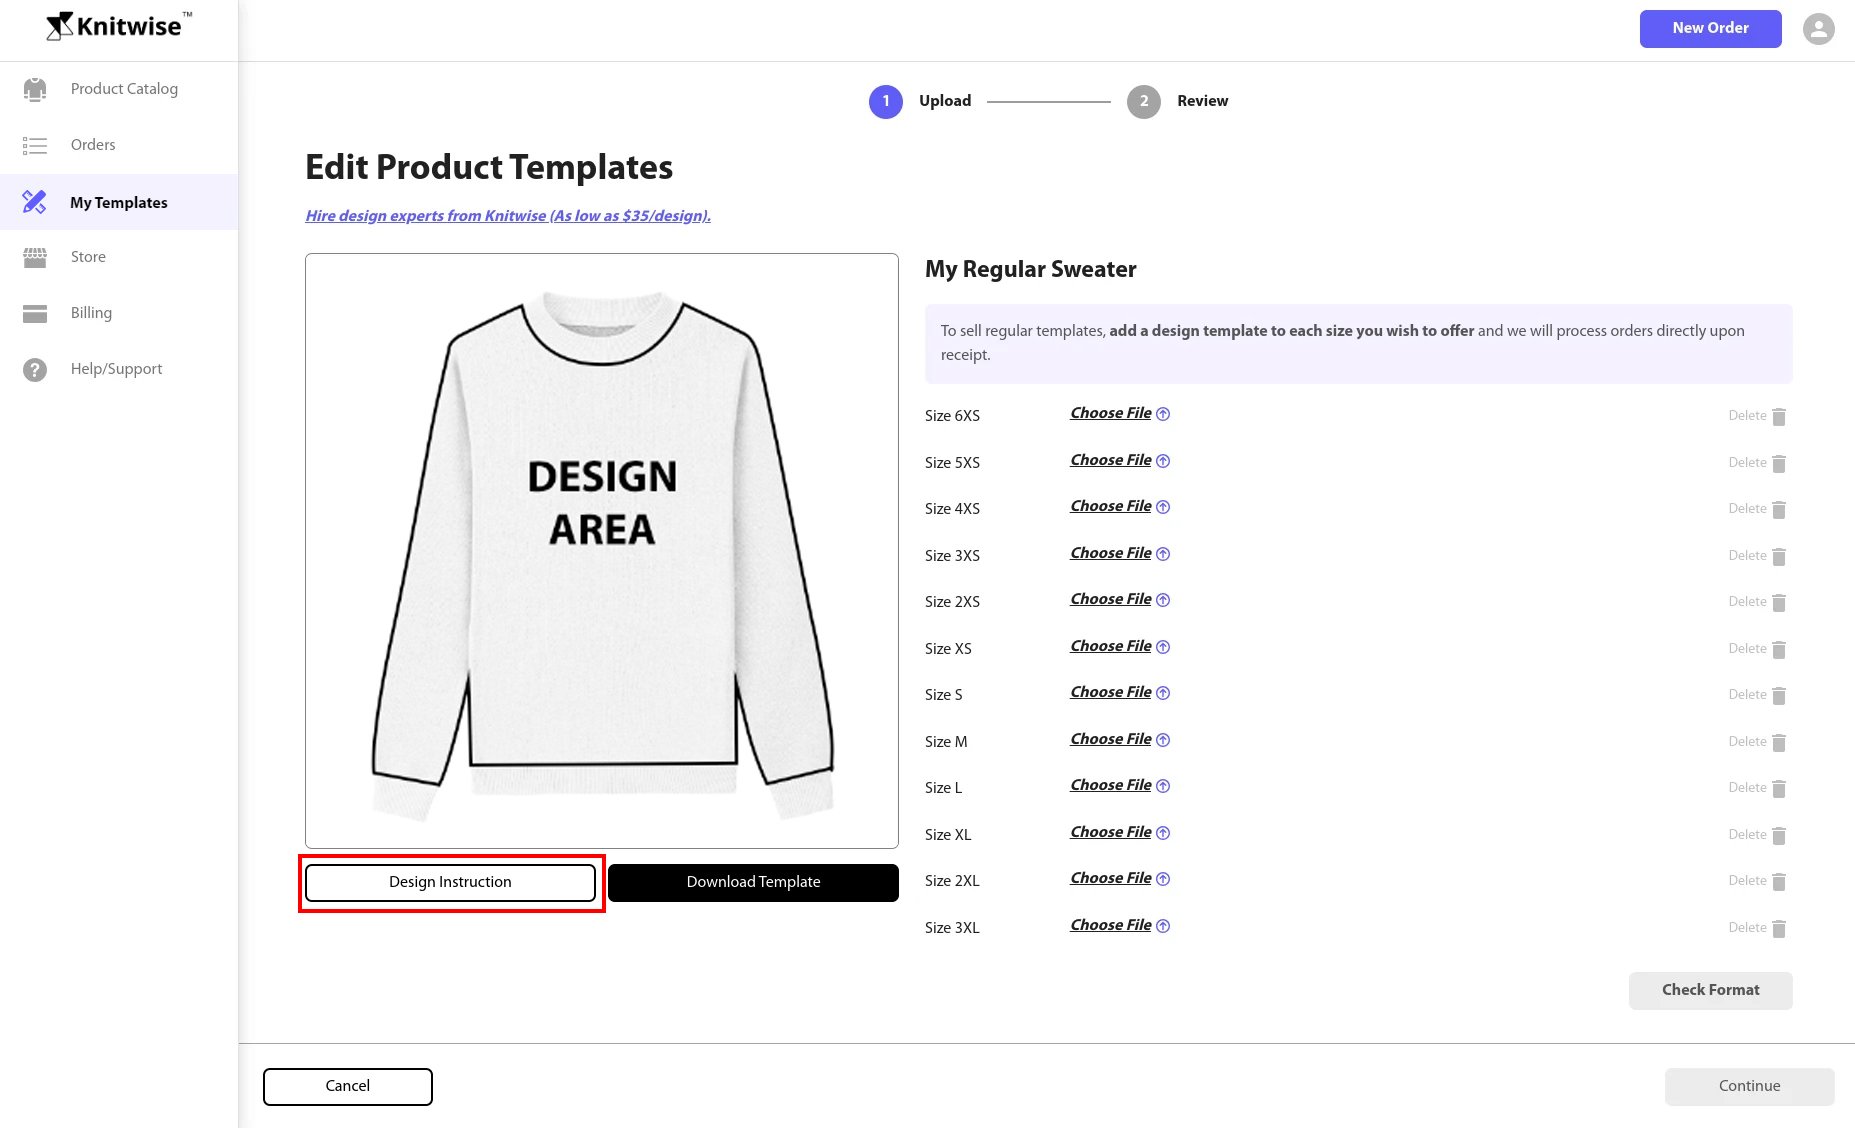
3. Once you are done with creating your design files, upload the file for each size by clicking "Choose File" button. Only BMP files are allowed for upload.
For this instruction, we will upload an artwork for Size M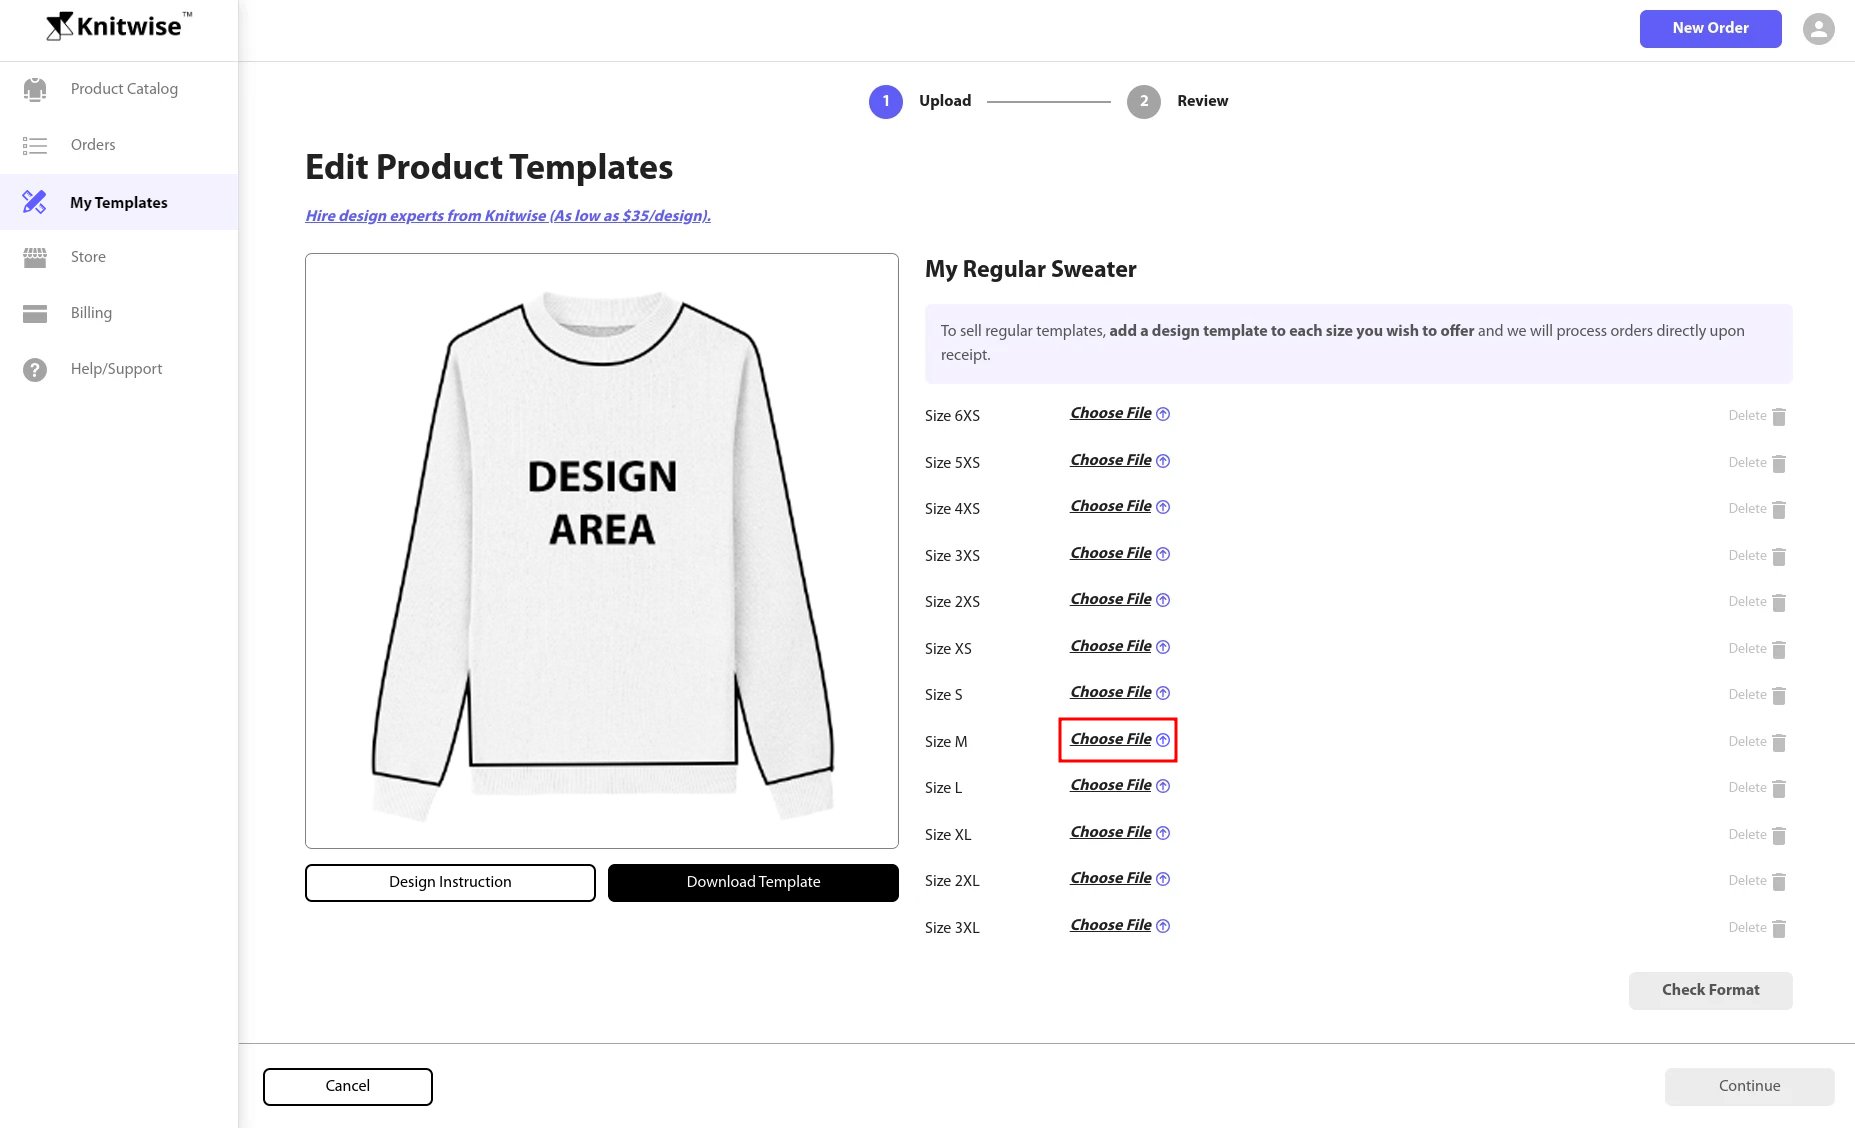
4. Click "Check Format" button to ensure the design files meet the design format requirements. If errors occur, click "Report" to learn more details and correct the design files accordingly. You must have all design files in the correct format before proceeding.
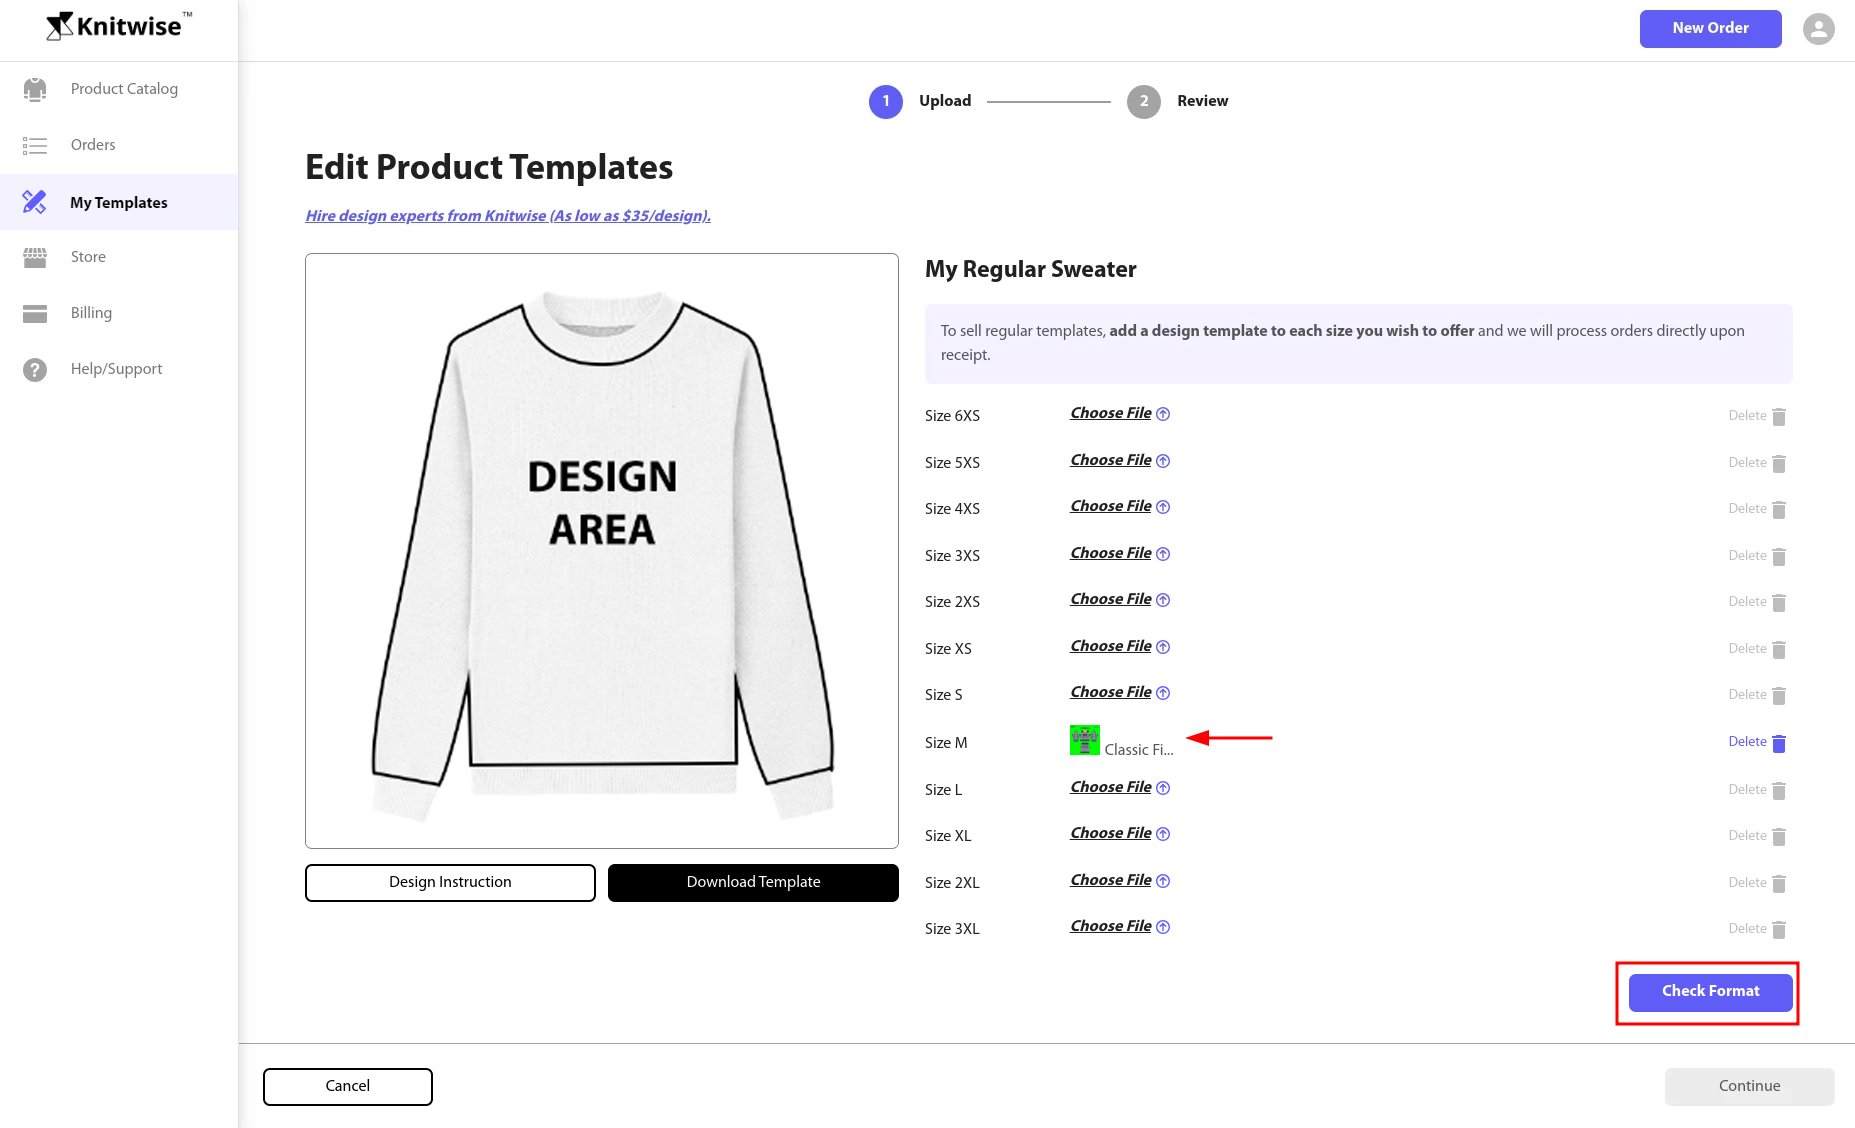
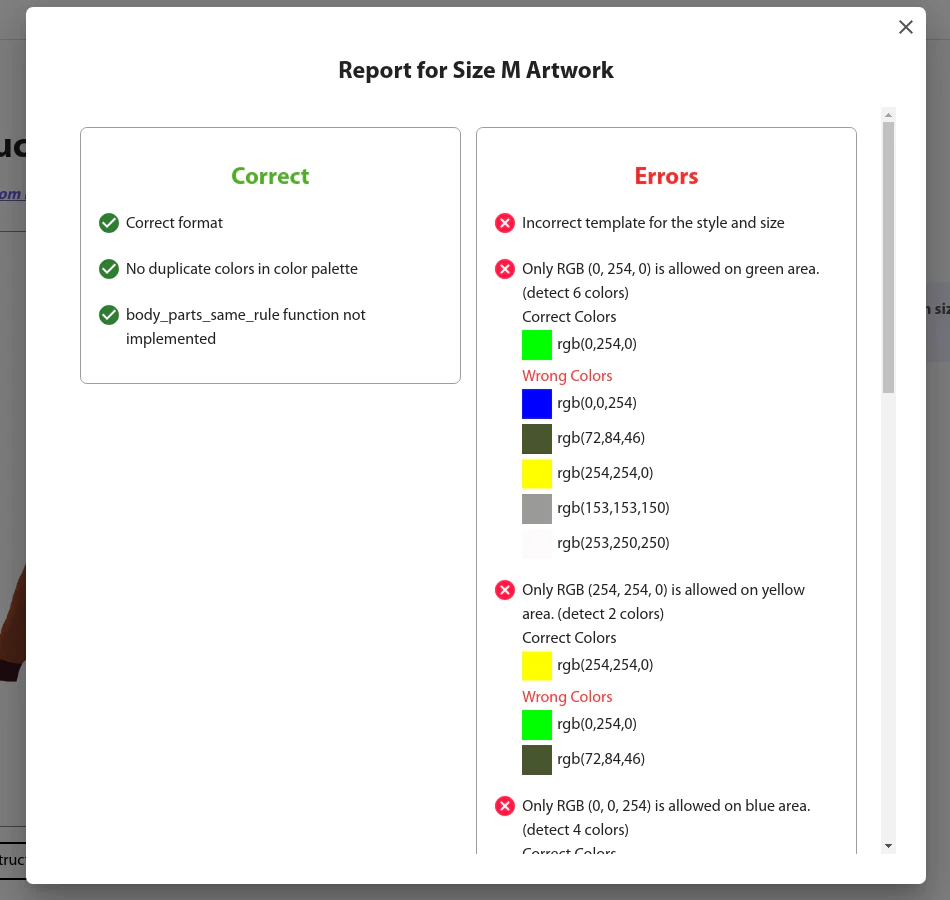
Below is an example of a format checker error report. To know how to identify a possible mistake on your file, please read this article.
| Tip: If you have any questions about the report, please do not hesitate to contact [email protected]. |
5. If your files successfully passed the format checking, click "Continue" to review the 3D mockup and ensure the design is accurate and as intended.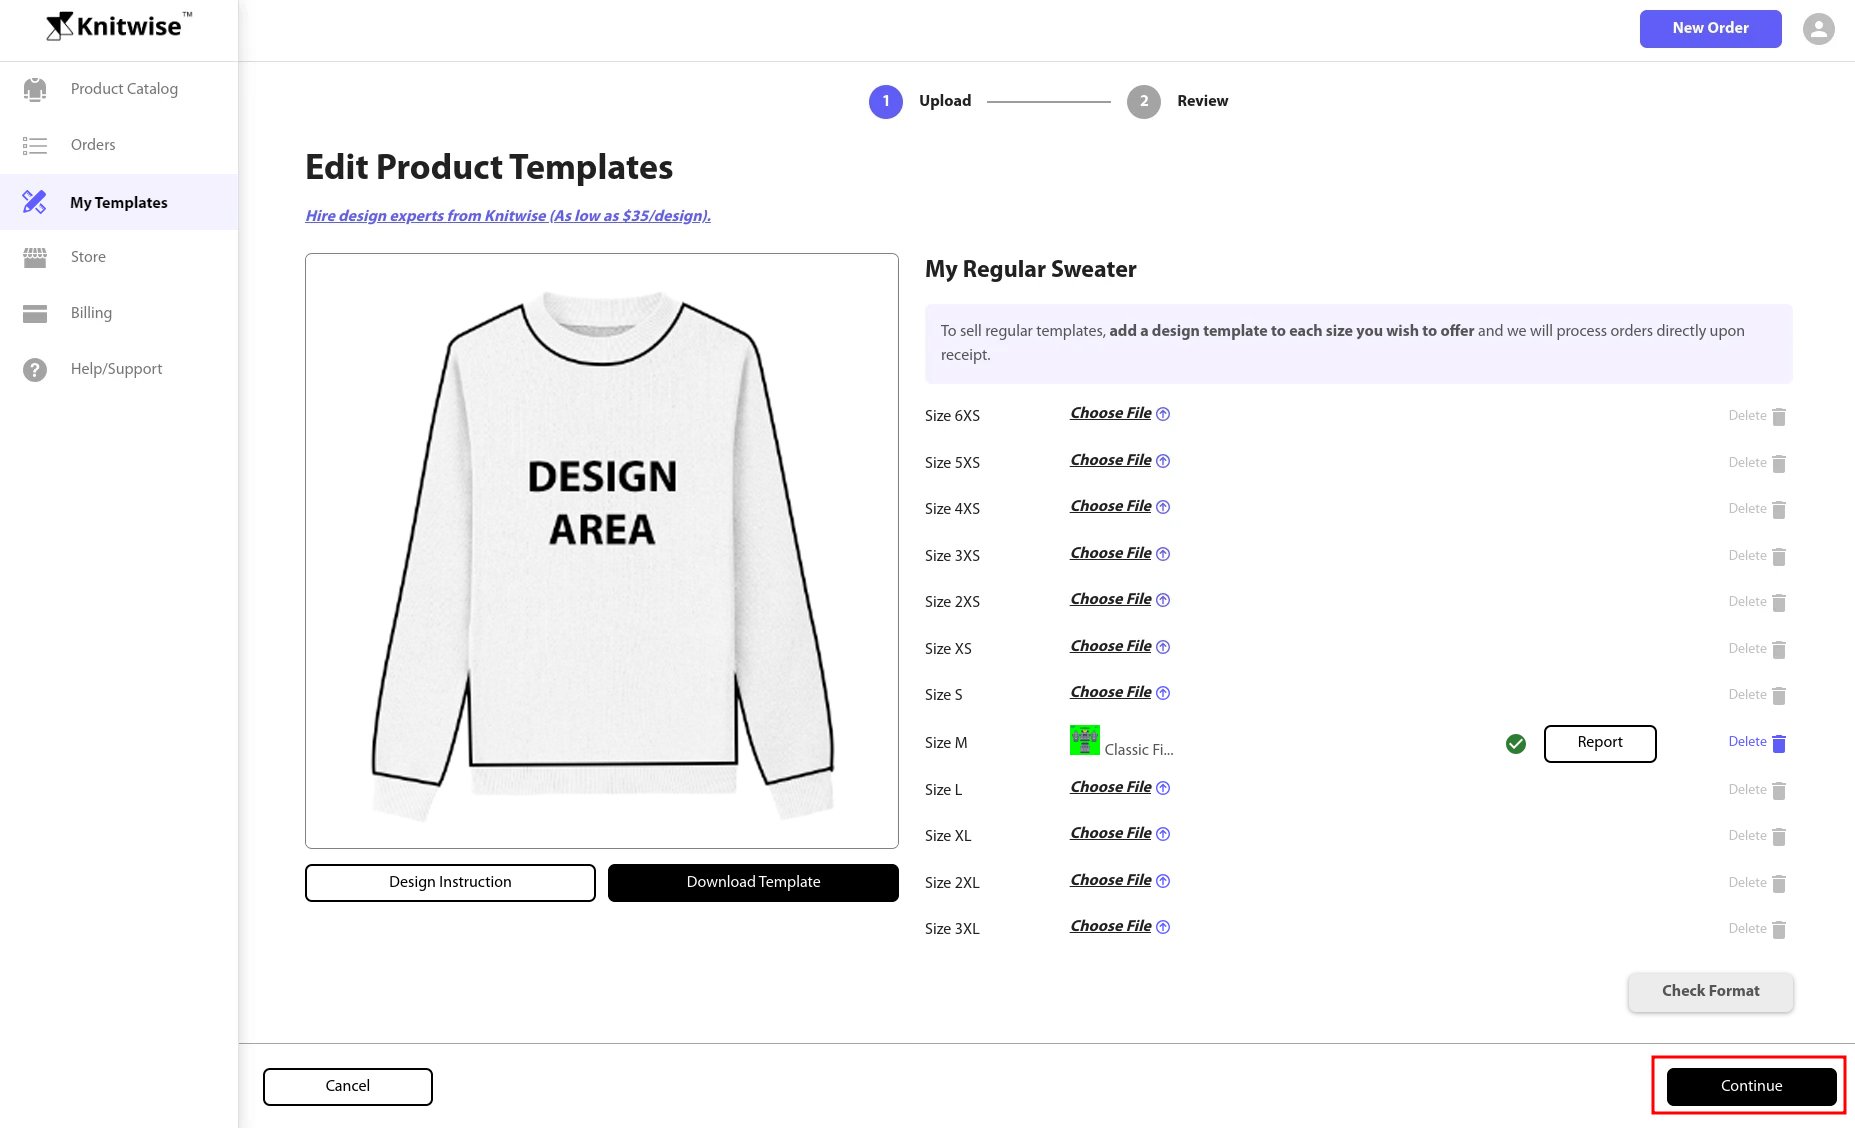
Step 4. Review and save
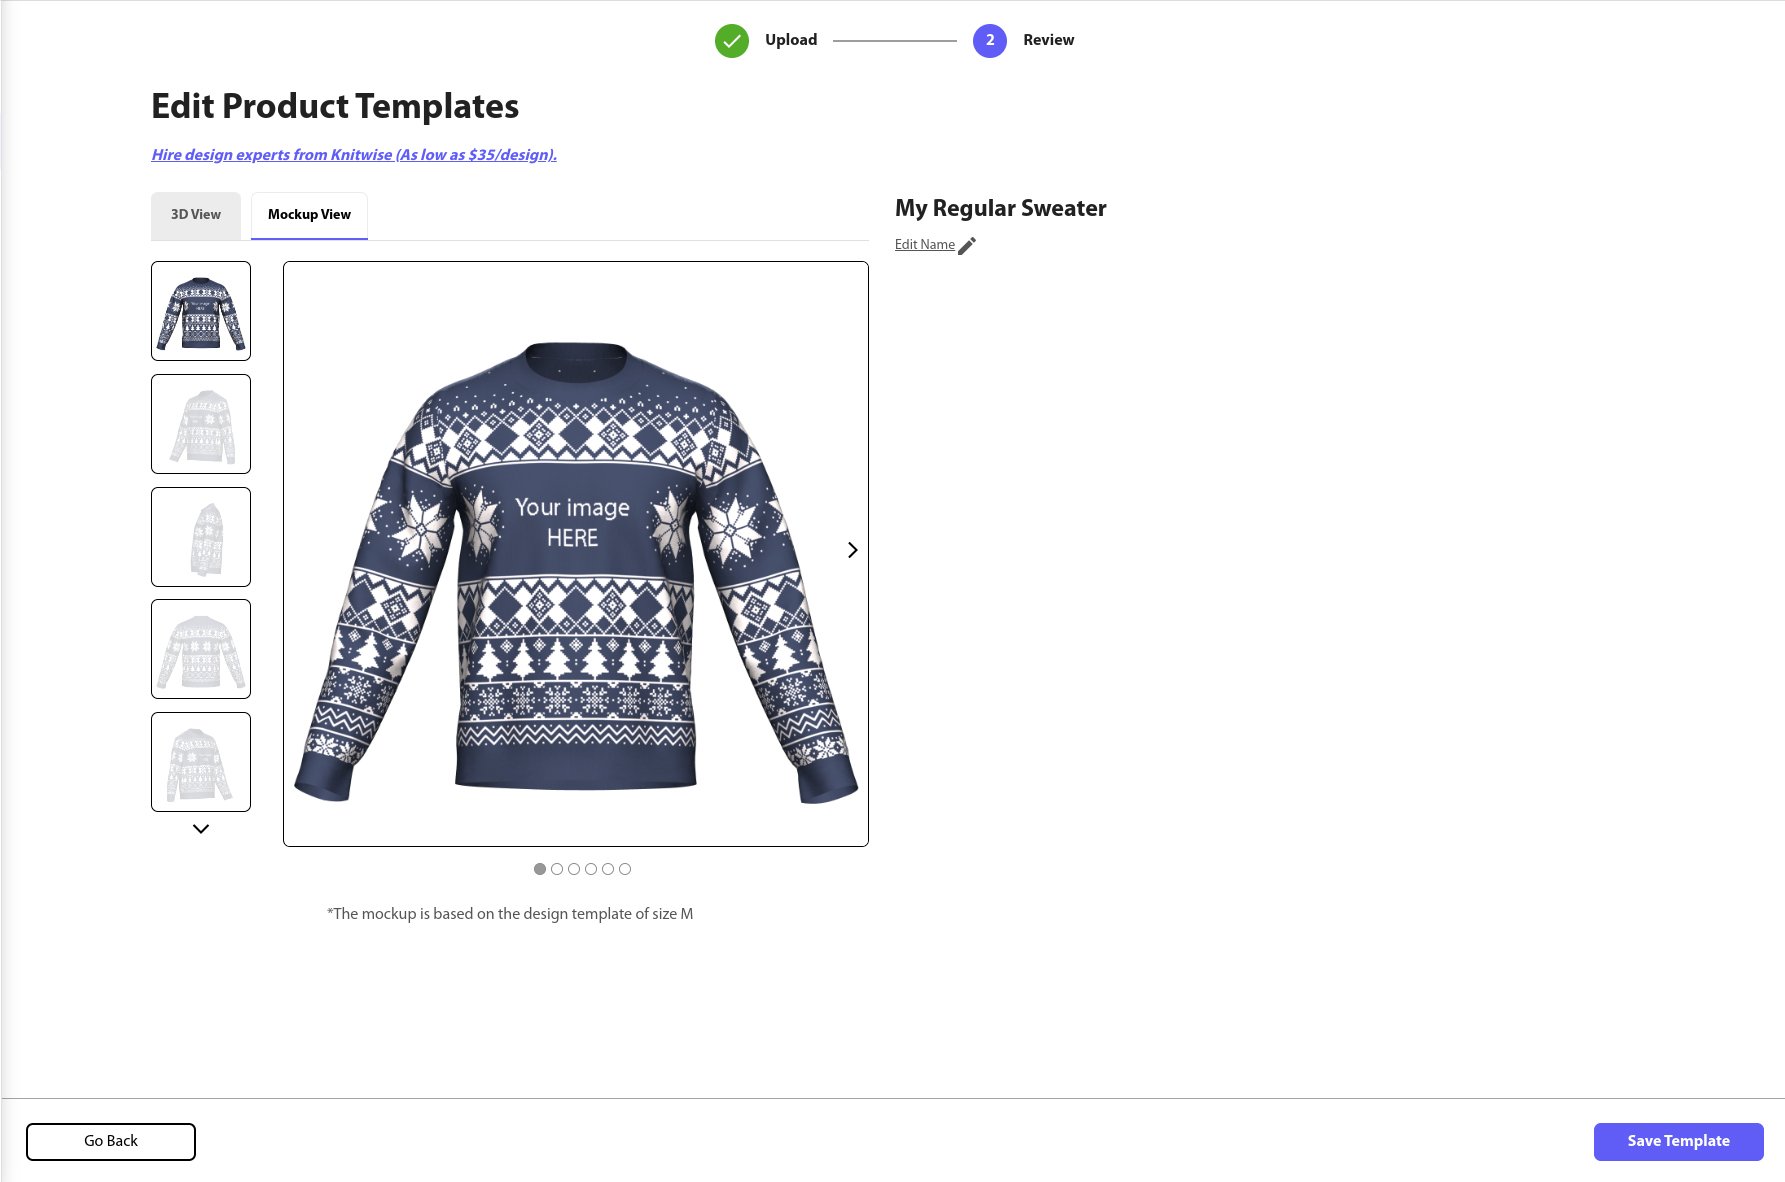
1. After clicking "Continue", the browser will take a few seconds to load the 3D model and take snapshots of the 3D Model of your design. Click and drag to get a 360º view of your design or see the snapshots by clicking Mockup View tab.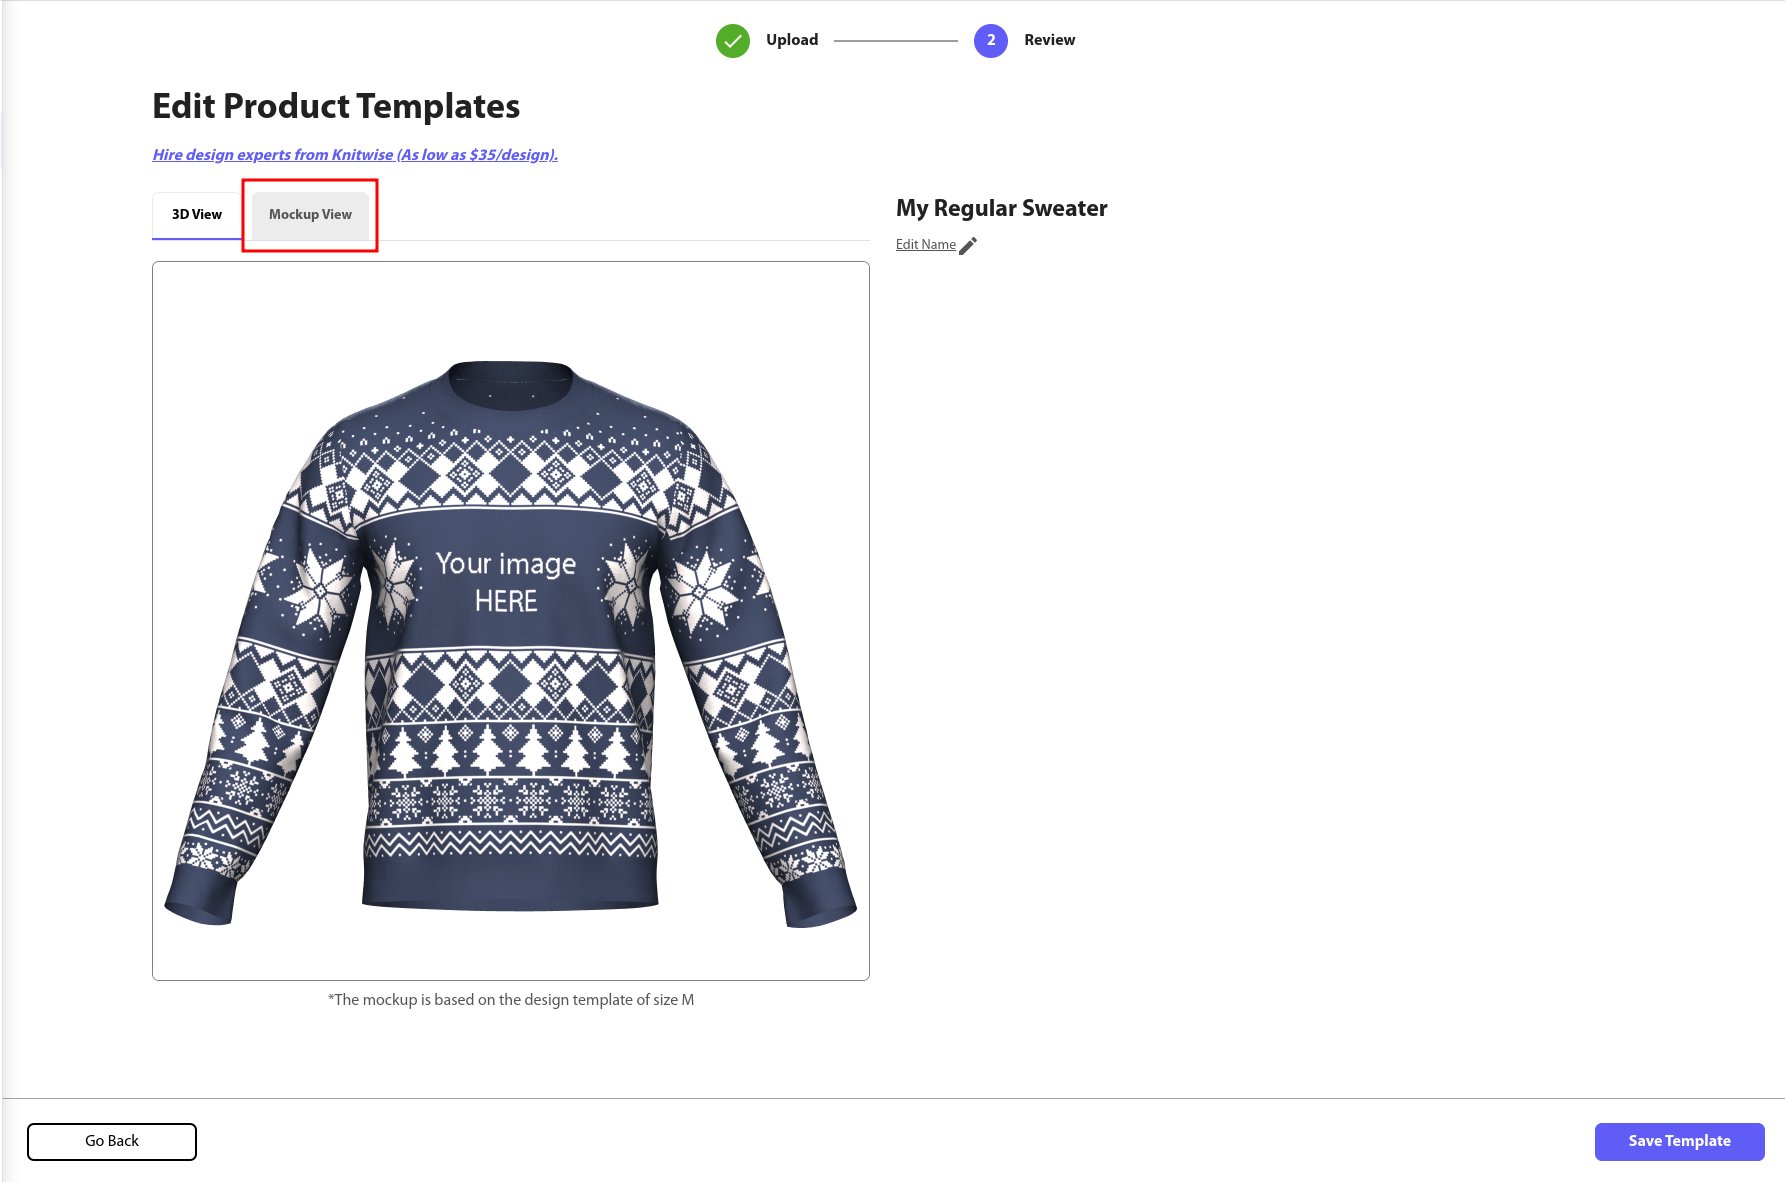
2. Click "Save Template" to save your template.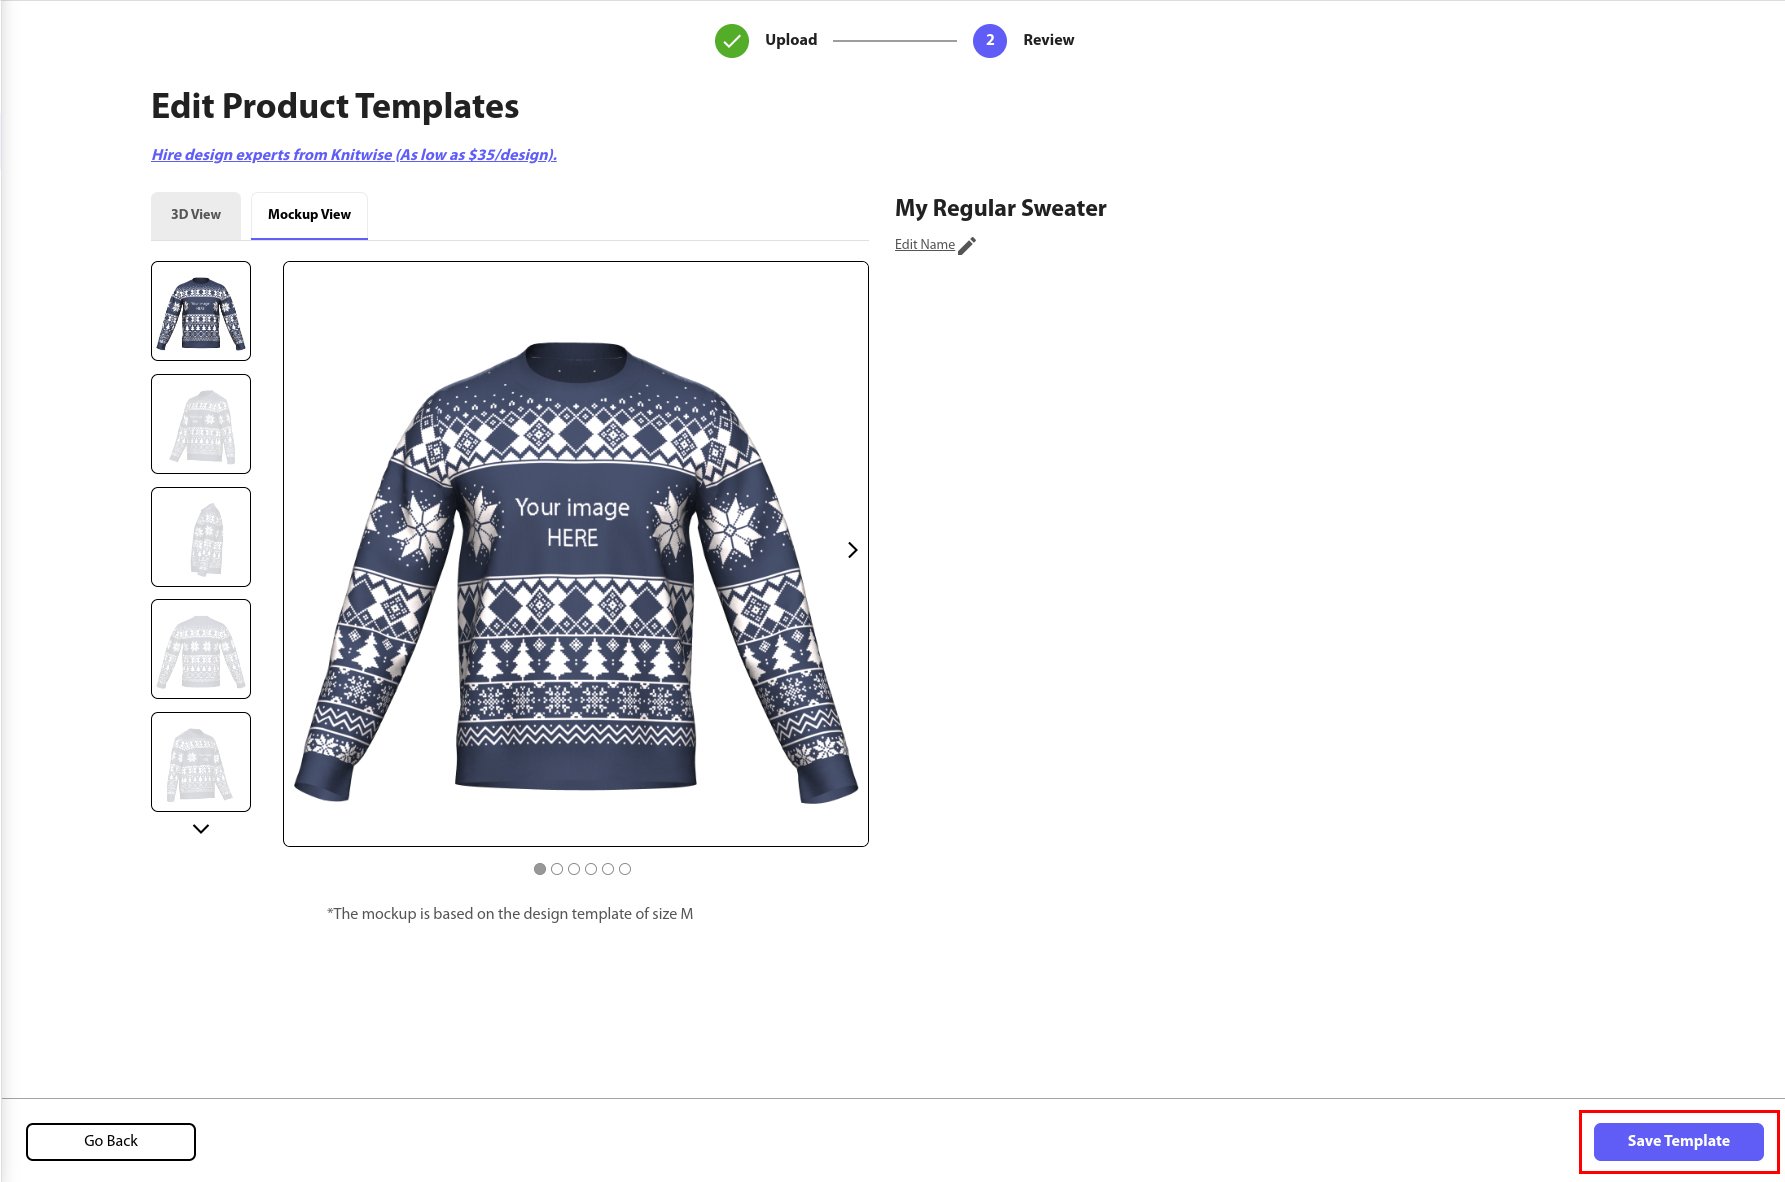
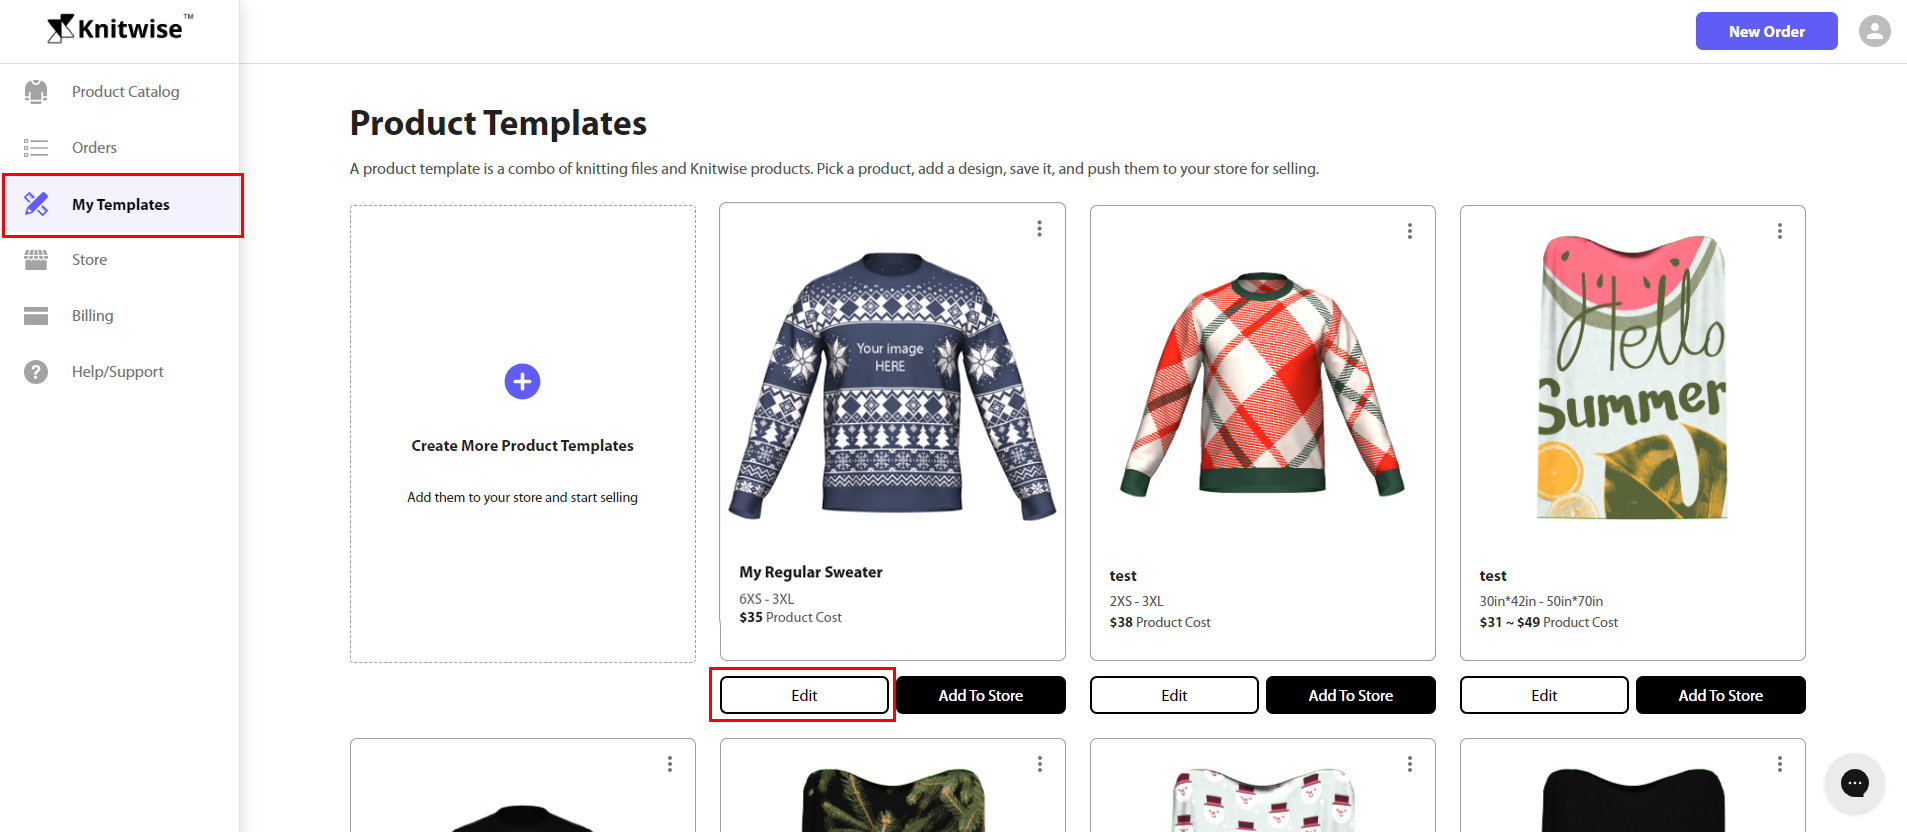
3. In "My Templates" section, you will see your product template saved. Click "Edit" to make changes to your product templates and reupload design files if necessary.